- No products in the basket.
12Oct
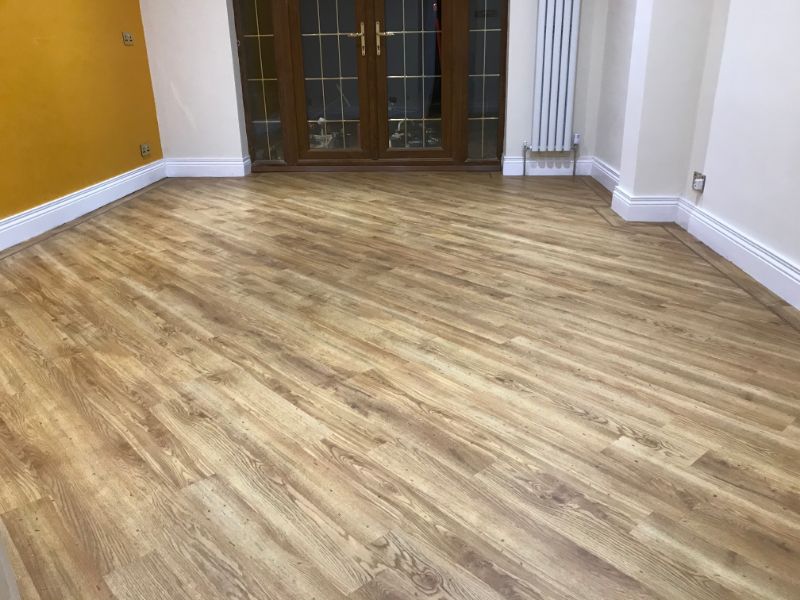
DIY How To Instal Luxury Vinyl Tile (LVT) Flooring
By: Viste
DIY Installing luxury vinyl tile (LVT) flooring is a relatively straightforward process if you follow the right steps.
Here’s a general guide on how to install LVT flooring:
Materials and Tools You’ll Need:
- LVT flooring planks or tiles
- Utility knife or vinyl cutter
- Measuring tape
- T-square or straightedge
- Adhesive (if using glue-down LVT) or underlayment (if using floating LVT)
- Roller (for glue-down installation)
- Spacers (for floating installation)
- Pry bar (for removing baseboards)
- Rubber mallet
- Pencil
- Notched trowel (if using adhesive)
- Vinyl adhesive remover (if needed)
- Baseboards and trim pieces
- Safety equipment: Knee pads, safety glasses, dust mask, and gloves
Installation Steps:
- Prepare the Subfloor:
- Ensure the subfloor is clean, dry, and smooth. Remove any debris or imperfections.
- Repair any uneven or damaged areas and use a leveling compound if necessary.
- If you’re installing over concrete, make sure it’s properly cured, dry, and free of moisture.
- Acclimate the LVT:
- Leave the LVT planks or tiles in the room for at least 24 hours dry back and 48 hours click system to acclimate to the temperature and humidity.
- Layout and Planning:
- Measure the room to determine the starting point for your installation. You typically want to start in the center for a balanced look.
- Use a T-square and chalk lines to create a reference line for your first row.
- Install the First Row:
- For a floating installation, place spacers along the walls to create an expansion gap.
- Install the first row of LVT along the reference line, ensuring the planks or tiles are aligned and interlocked securely.
- Continue Installation:
- Work row by row, interlocking the planks or tiles. Stagger the seams for a more natural appearance.
- Trim the last plank or tile in each row as needed using a utility knife or vinyl cutter.
- For Glue-Down (Dry Back) Installation:
- Apply adhesive to the subfloor with a notched trowel and lay the LVT planks/tiles in place.
- Use a roller to press the LVT firmly into the adhesive.
- For Floating Installation:
- Continue installing rows, locking each plank or tile into the previous one.
- Remove spacers as you go.
- Finishing Touches:
- Trim the final row to fit against the wall, leaving an expansion gap.
- Install baseboards and trim pieces to cover gaps and expansion joints.
- Cleanup:
- Clean any adhesive or residue from the surface of the LVT.
- Remove any adhesive tape or protective film from the LVT.
- Maintenance:
- Follow the manufacturer’s recommendations for cleaning and maintenance to keep your LVT flooring looking its best.
Always refer to the manufacturer’s installation instructions specific to your LVT product, as there may be variations in the installation process depending on the type and brand of LVT flooring you’re using. Additionally, it’s essential to follow any local building codes and regulations when installing flooring in your area.
Birmingham Floors can help you, If you need professional flooring fitter call us on 0121 603 7099
Posted in : Uncategorized
Share :